TREKKERTENT STEALTH INSTRUCTIONS
Stealth uses 2 hiking poles for support and 6 pegs.
1 - Set one hiking pole to its minimum length and the other to 1050mm (41 inches). Loosen all linelocs and guylines.
2 - Peg out the 2 corners at the rear (low) end of the tent. Insert the tip of the collapsed pole into the O ring at the rear apex and peg out the attached guyline.
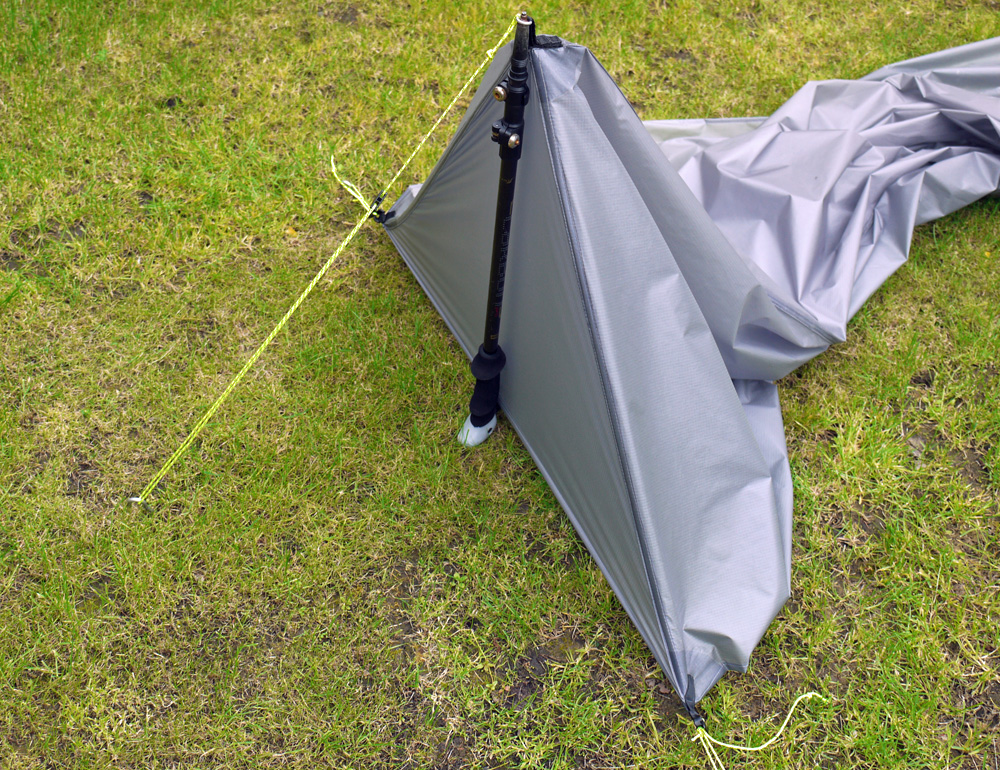
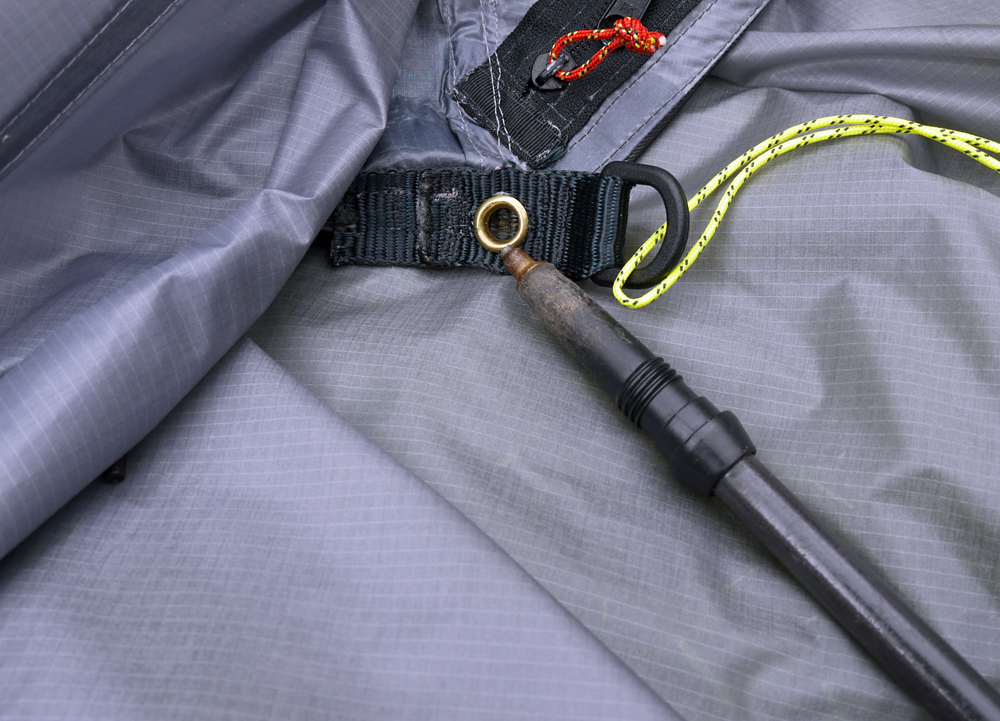
3 - Peg one corner at the front (high) end and insert the longer hiking pole into the grommet on the underside of the flysheet apex. Stand the pole upright and maintain pressure on the grommet so that the pole tip does not slip out while pegging out the guyline from the apex.
4 - Stretch the other front corner out and peg. The front corners should be stretched out to about 1500mm for the correct front width of the tent and prevent undue strain being put on the zipper.
The doors use the same peg as the guyline running from the apex. The ridgeline should be tensioned using the guyline, not the door panels. The seam joining the door panels should be centred, the zip is offset into the left hand door panel to avoid strain.
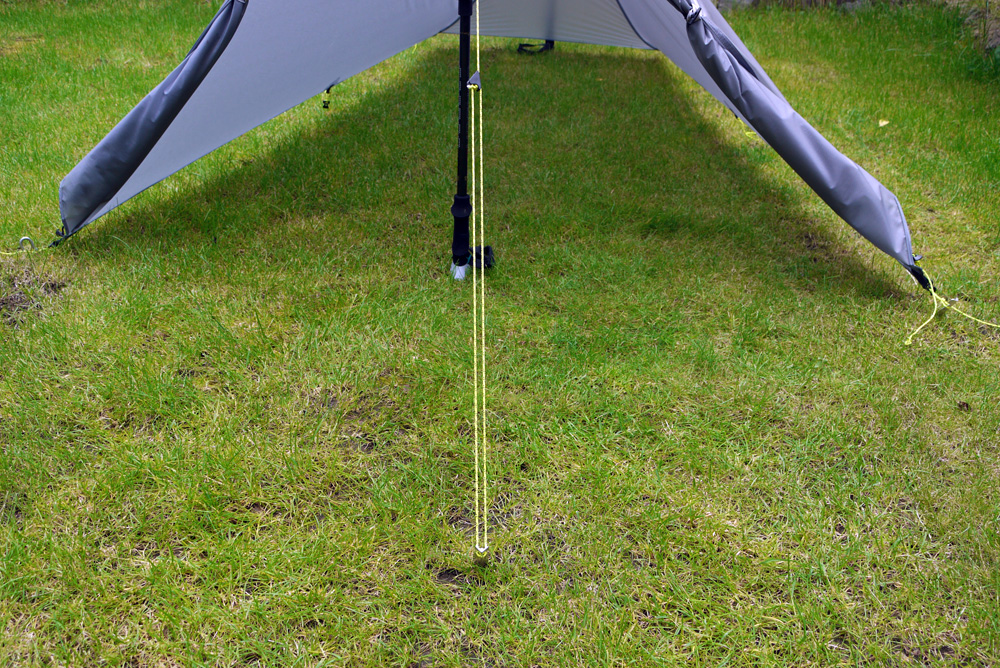
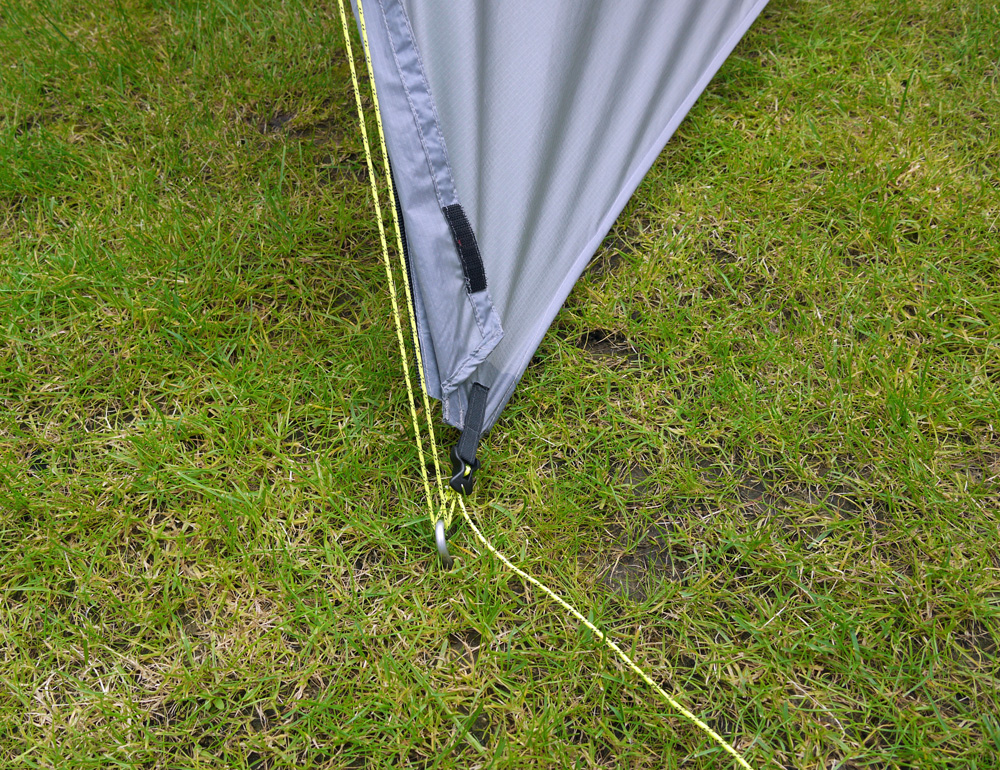
5 - Tighten all linelocs as required.
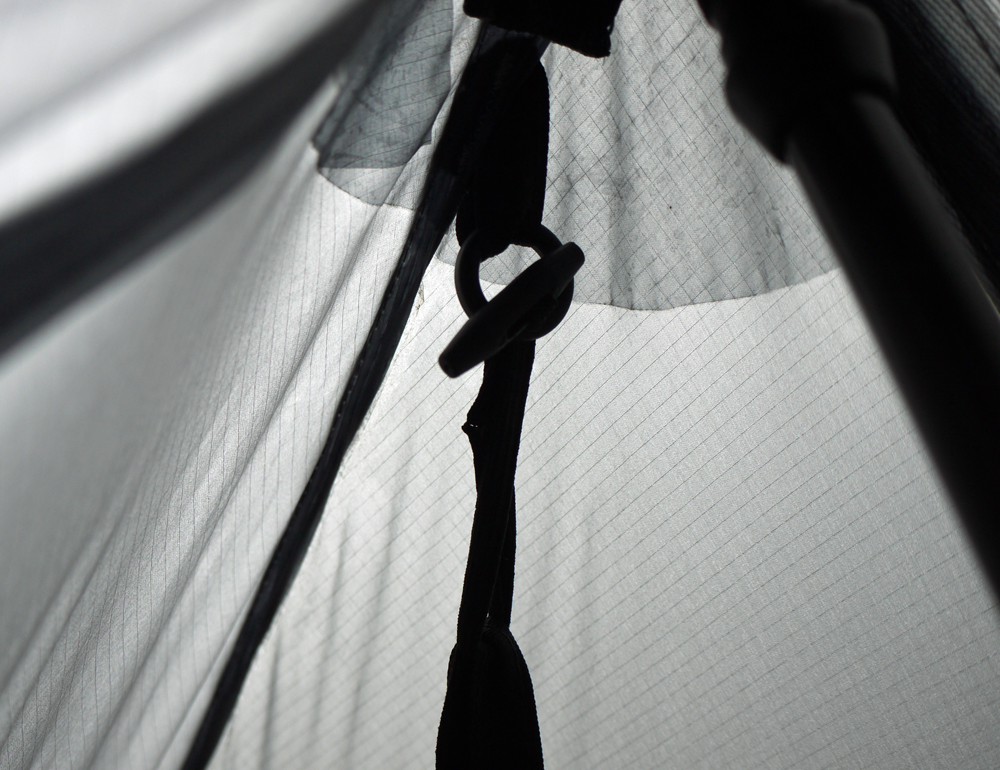
6 - The inner tent has toggles at either end apex that attach to O rings on the underside of the flysheet at both ends.
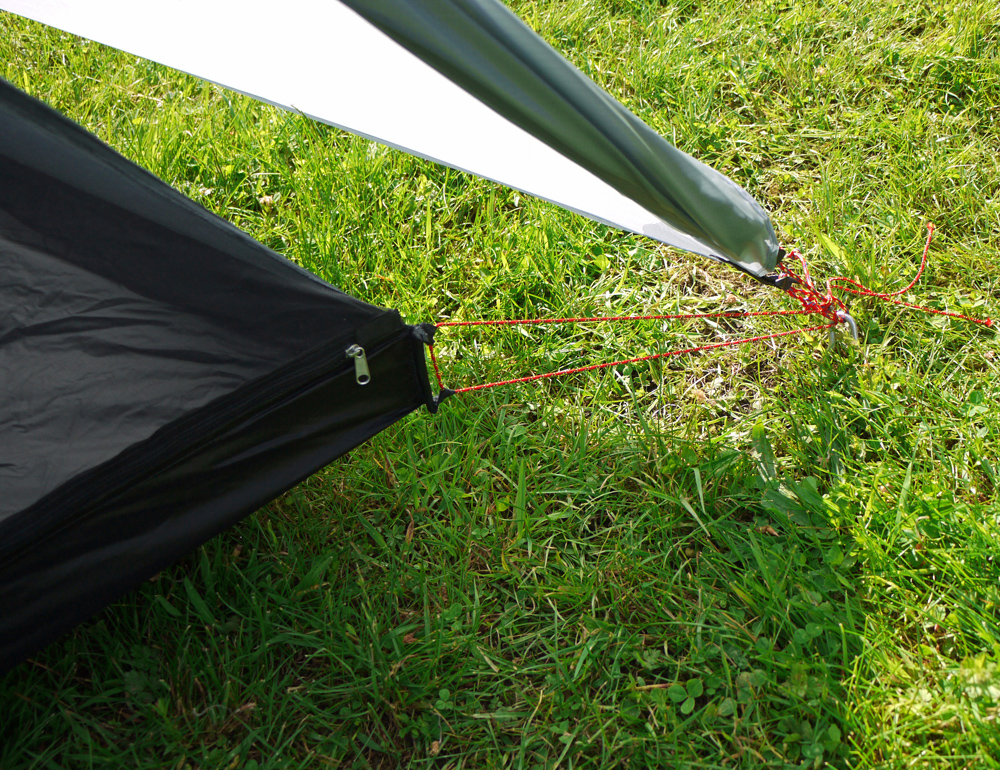
The bathtub floor of the inner tent has guylines that attach to the 4 corner pegs of the flysheet.
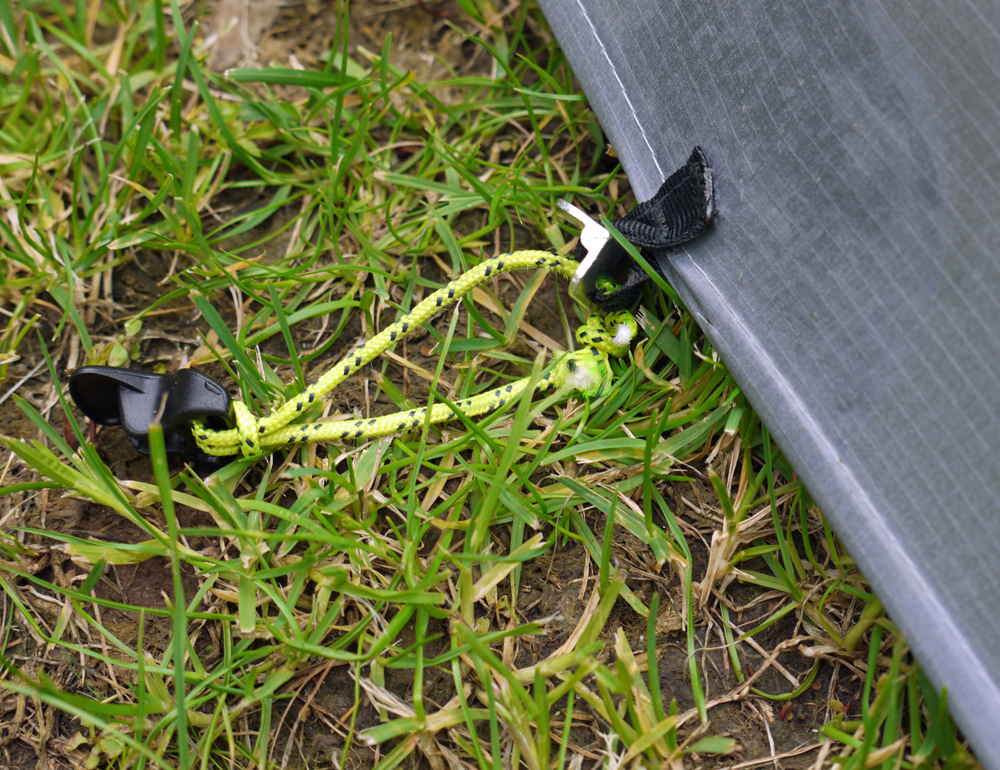
For pitching the flysheet right down to the ground, inesrt the pegs into the loops above the linelocs at each corner, rather than through the guylines attached to the linelocs.
WARNING!
- Keep flame and heat sources away from the tent fabric
The tent fabric is not fireproof or flame resistant and will burn if in contact with an
open flame or other heat source. - Never use any fuel-burning products inside or within close proximity to this tent
Use of fuel burning products inside or within immediate proximiity of this tent can
result in the accumulation of dangerous concentrations of carbon monoxide, which
can result in serious injury or death
